개요
필자는 Windows Server를 주로 사용하기 때문에, ADFS를 사용하여 SSO를 구축하고자 하였다. 하지만 Synology DSM 7의 SSO Client을 사용하여 ADFS와 연결하는 것은 생각보다 까다롭고 해외 포럼에서도 정보를 찾기 어렵다.
이번에 SSO를 구축하면서 겪은 시행착오를 정리하여 서술하고자 한다.
가장 중요한것은 DSM에서 ADFS를 연결할 때 OpenID Connect SSO 서비스를 사용하면 안된다.
OpenID Connect를 사용할 수 없는 이유
DSM은 기본적으로 OpenID 인증 절차가 완료되면 로그온을 수행할 계정을 찾기 위해 UPN을 /userinfo 엔드포인트에서 찾게 된다.
하지만 ADFS는 OpenID 표준에 정의된 subject claim 이외의 어떤 claim도 userinfo 엔드포인트에서 반환하지 않는다. 그러므로 웹 앱은 UPN을 구하기 위해선 ID 토큰에서 정보를 찾아야되는데, DSM은 이것을 지원하지 않는다.
이 것 때문에 항상 로그온이 실패하게 된다. 자세한 인증 로그는 /var/log/synoscgi.log을 참고할 수 있다.
2026-03-09T07:29:33+09:00 SYNONAS_1 synoscgi_SYNO.API.Auth_7_login[1271]: oidcsso.cpp:267 user claim 'username' is not found in userinfo
2026-03-09T07:29:33+09:00 SYNONAS_1 synoscgi_SYNO.API.Auth_7_login[1271]: oidc_auth.cpp:70 Get sso operation failed. Reason: failed to get user claim value
SAML을 사용하여 SSO 연결하기
혹시나 이것을 따라할 용자가 있다면 Windows Server Core에는 ADFS Role을 설치하지 않기를 권한다. AD FS Management Snap-in은 RSAT에 포함되어있지 않다. 즉 모든 작업을 Powershell로 수행해야 한다.
먼저 ADFS Role을 설치하고 구성을 수행한다. FS IdP-initiated sign-in이 정상적으로 수행된다면 올바르게 역할을 구성한 것이다. 이것은 크게 어렵지 않기 때문에 자세히 서술하지 않겠다.
Troubleshoot AD FS IdP-Initiated Sign-In
Learn how to use the sign-in page to troubleshoot Active Directory Federation Services (AD FS) authentication.
learn.microsoft.com
DSM Control Panel > Domain/LDAP > SSO Client > Enable SAML SSO Service에 체크한다. 그리고 하단 SAML SSO Settings로 이동한다.

Account Type, Response signature verification은 위와 같이 설정하고, Import Metadata로 아래 주소에서 받은 메타데이터를 불러온다.
https://<ADFS FQDN>/FederationMetadata/2007-06/FederationMetadata.xml
ADFS Role이 설치된 서버에서 Powershell을 열고, 아래 스크립트를 실행하여 엔드포인트 추가와 관련한 모든 작업을 한번에 수행한다.
Import-Module ADFS
$RpName = "<NAME>"
$NasUrl = "https://<DSM_FQDN>"
$AcsUrl = "https://<DSM_FQDN>/"
#기존 RP 제거
Get-AdfsRelyingPartyTrust -Name $RpName -ErrorAction SilentlyContinue | `
Remove-AdfsRelyingPartyTrust -Confirm:$false
#SAML ACS endpoint 생성
$acs = New-AdfsSamlEndpoint `
-Binding POST `
-Protocol SAMLAssertionConsumer `
-Uri $AcsUrl `
-IsDefault $true
#RP Trust 생성
Add-AdfsRelyingPartyTrust `
-Name $RpName `
-Identifier $NasUrl `
-SamlEndpoint $acs `
-ProtocolProfile SAML `
-Enabled $true
#접근 정책
Set-AdfsRelyingPartyTrust `
-TargetName $RpName `
-AccessControlPolicyName "Permit everyone"
#서명 모드 설정
Set-AdfsRelyingPartyTrust `
-TargetName $RpName `
-SamlResponseSignature AssertionOnly `
-SignatureAlgorithm "http://www.w3.org/2001/04/xmldsig-more#rsa-sha256" `
-EncryptedNameIdRequired $false `
-NotBeforeSkew 5
#NameID UPN 옵션
$Rules = @'
@RuleName = "WindowsAccountName to NameID"
c:[Type == "http://schemas.microsoft.com/ws/2008/06/identity/claims/windowsaccountname"]
=> issue(
Type = "http://schemas.xmlsoap.org/ws/2005/05/identity/claims/nameidentifier",
Value = c.Value,
Properties["http://schemas.xmlsoap.org/ws/2005/05/identity/claimproperties/format"]
= "urn:oasis:names:tc:SAML:1.1:nameid-format:unspecified"
);
@RuleName = "Pass WindowsAccountName"
c:[Type == "http://schemas.microsoft.com/ws/2008/06/identity/claims/windowsaccountname"]
=> issue(
Type = "http://schemas.microsoft.com/ws/2008/06/identity/claims/windowsaccountname",
Value = c.Value
);
@RuleName = "Pass UPN"
c:[Type == "http://schemas.xmlsoap.org/ws/2005/05/identity/claims/upn"]
=> issue(
Type = "upn",
Value = c.Value
);
'@
Set-AdfsRelyingPartyTrust `
-TargetName $RpName `
-IssuanceTransformRules $Rules
Get-AdfsRelyingPartyTrust -Name $RpName | `
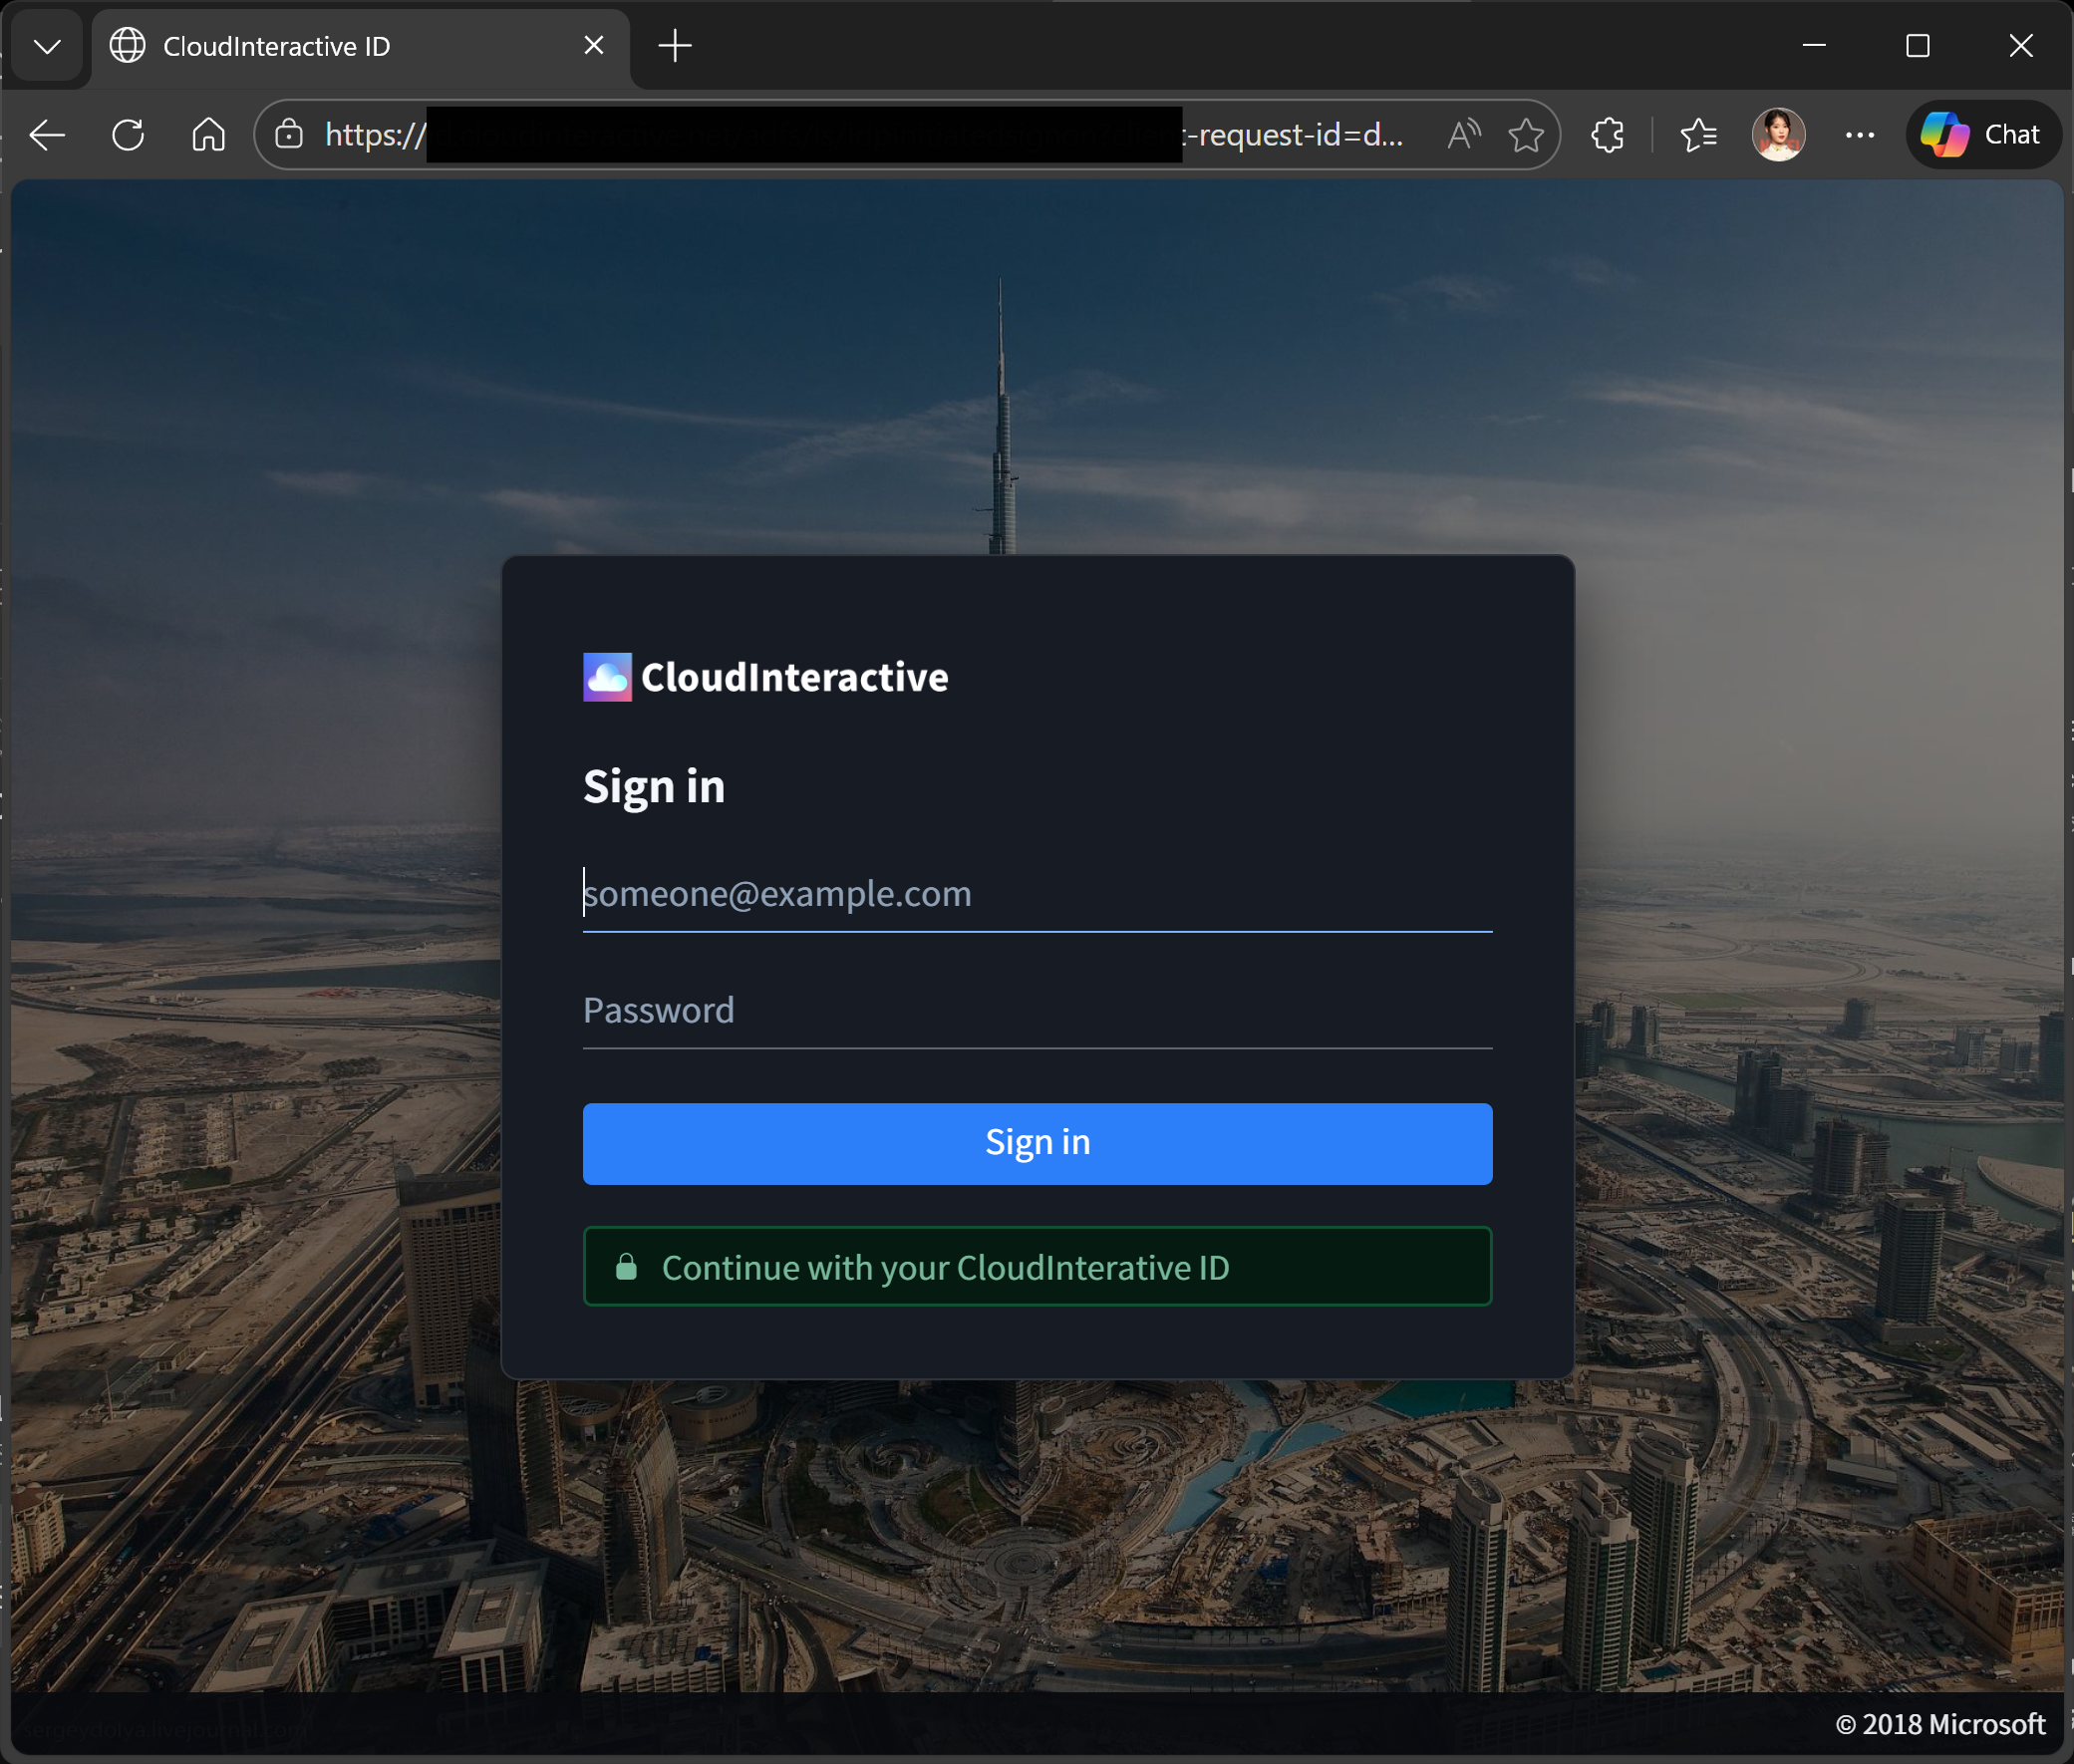
Format-List Name,Identifier,SamlResponseSignature,SignatureAlgorithm,EncryptedNameIdRequired,NotBeforeSkew,IssuanceTransformRulesDSM에서 SSO 로그인을 해보자.

아마 "Your SSO is not properly configured. Please check your settings or contact your system administrator" 와 함께 로그인이 안 될것이다.
인증서 변경하기
/var/log/synoscgi.log에서 다시 힌트를 찾자.
2026-03-09T11:15:27+09:00 SecureCloud synoscgi_SYNO.API.Auth_7_login[27538]: saml_auth.cpp:46 Verify SAML response failed. Reason: failed to verify assertion signature
2026-03-09T11:15:27+09:00 SecureCloud synoscgi_SYNO.API.Auth_7_login[27538]: pam_syno_sso.cpp:127 (euid=0)(pam_syno_sso.cpp:127)(Success)Failed [username.empty()]
2026-03-09T11:15:27+09:00 SecureCloud synoscgi_SYNO.API.Auth_7_login[27538]: pam_syno_log_fail(sso:auth): Can't get user uid ().
SAML assertion의 서명을 검증하지 못하고 있다. 아마 메타데이터로 불러온 인증서가 기본으로 ADFS Signing이 아니라 ADFS Encryption일 것이다.

DSM이 assertion 검증에 사용한 공개 인증서가 실제 primary token-signing cert와 일치하지 않았기 때문에 서명을 검증할 수 없는 것이다. 이를 해결하기 위해서는 ADFS Signing 인증서를 Export하여 수동으로 지정해야 한다.
아래 Powershell 명령어로 Token-Signing 인증서를 Export하고, Base64 encoded PEM 형식으로 변환하자.
$cert = Get-AdfsCertificate -CertificateType Token-Signing | Where-Object {$_.IsPrimary -eq $true}
[System.IO.File]::WriteAllBytes("C:\sign.cer", $cert.Certificate.Export([System.Security.Cryptography.X509Certificates.X509ContentType]::Cert))
변환한 인증서를 SAML SSO Settings > Certificate에서 지정하자. 이제 로그인이 될 것이다.